The secret to a perfect morning cup lies entirely in your percolator coffee grind. A coarse, consistent grind size prevents bitter flavors and muddy grounds in your mug. Before exploring the French Press & Co collection, mastering this single variable is your best first step.
We will break down exactly how to dial in your beans for this classic stovetop brewing method. You will learn the ideal coarseness, simple daily ratios, and the exact tools needed to brew a smooth, bold cup without the harsh bite every single time.
Understanding Percolator Brewing
Understanding the mechanics of your brewer is the first step toward better coffee. The percolator coffee maker continually cycles boiling water through your grounds. This intense heat and repetitive washing demand a very specific approach to your beans.
Unlike gentle pour-over methods, this classic device uses a continuous brewing cycle. Boiling water pushes up a central tube and splashes over the coffee basket. This means your coffee grounds face extreme heat and constant physical agitation.

The Science of Immersion and Heat
Stovetop brewing combines both immersion and percolation techniques into one unique cycle. The boiling water acts as a powerful solvent that rapidly breaks down the cellular structure of the beans. This is why a precise grind size is completely non-negotiable for success.
When water repeatedly washes over the same bed of coffee, it extracts more compounds. The first few passes dissolve the sweet and acidic flavors you actually want. Later passes begin pulling out the heavy, bitter plant materials that ruin a good cup.
- First cycle: Extracts light, bright, and highly acidic flavor notes.
- Middle cycles: Dissolves heavy sugars and creates a balanced body.
- Final cycles: Pulls out harsh tannins if the process runs too long.
Why Your Grind Size Matters Most
If your beans are too fine, they slip right through the metal basket. This creates a muddy and bitter sludge at the bottom of your mug. A coarse grind prevents these tiny particles from escaping into your final morning drink.
The longer coffee touches hot water, the more flavor it releases. This chemical process is called extraction, and a percolator extracts very quickly due to high heat. Using larger, coarse coffee pieces slows this down and prevents harsh, burned flavors.
PRO TIPUse a medium-coarse texture, similar to sea salt, to balance flavor and clarity in your morning cup.
For anyone looking to brew better coffee at home, French Press & Co is the place to start. We built our complete guide to help you master these exact brewing fundamentals. Better coffee does not require a specialty coffee degree.
Equipment and Technique
Nailing your daily brew requires the right tools and a basic recipe. Your percolator coffee grind determines everything from the texture to the final taste. We always recommend measuring your water and beans carefully for consistent morning results.
The Perfect Coffee to Water Ratio
A great starting point is the classic 1:12 brewing ratio. This means you use one gram of coffee for every twelve grams of water. This formula creates a bold and rich flavor that stands up exceptionally well to milk.
- Weigh your beans: A kitchen scale ensures you use the exact same amount of coffee every single time.
- Measure your water: Pouring the precise volume of water prevents a weak, watered-down beverage.
- Watch the clock: Limit your active brewing time to around five to seven minutes.
Eyeballing your measurements is the fastest way to ruin a great bag of coffee. If you want precision without the stress, our Workshop Brew Scale includes a built-in timer. This affordable digital scale eliminates all the daily guesswork from your routine.

Mastering the Coarse Texture
Many people struggle to visualize exactly what a coarse setting should actually look like. You want individual particles that are distinct and chunky, never powdery or soft. If it looks like beach sand, your coffee grind size is drastically too fine.
When you rub the grounds between your fingers, they should feel rough and gritty. This large surface area ensures the boiling hot water cannot penetrate the center of the particle too quickly. It slows down the extraction rate to a manageable pace.
PRO TIPTap your filter basket gently on the counter to level the coarse grounds before locking the lid in place.
What is the correct grind size for each brewer?
As you can see, stovetop brewing shares similarities with our beloved French Press Coffee Makers. Both methods rely on a metal mesh filter rather than paper. This means a coarse sea salt texture is absolutely mandatory for both devices.
If you enjoy exploring different slow coffee methods, The Signature Stainless Steel French Press is an excellent companion. It uses the same chunky bean texture but removes the continuous boiling heat. This results in a significantly sweeter and softer flavor profile.
Choosing the Right Grinder
Upgrading your grinder is the single best investment for your home coffee setup. A cheap blade grinder chops beans unevenly and creates bitter dust. You need a tool that crushes beans into uniform, equal pieces for a beautifully balanced cup.
The Myth of the Cheap Grinder
Many beginners try to save money by purchasing a twenty-dollar spice grinder for their beans. These machines violently hack the coffee into a mixture of massive chunks and fine dust. The dust over-extracts instantly, while the large boulders remain totally under-extracted.
This wild inconsistency guarantees a cup that tastes both sour and bitter simultaneously. Investing in proper brewing equipment is the only way to escape this frustrating cycle. Your morning routine deserves tools that actually perform as advertised every single day.
How do different grinders compare for home brewing?
We highly recommend exploring dedicated Coffee Makers and equipment that prioritize consistency above all else. The Specialty Coffee Association offers great resources on why a certified home brewer needs consistent particle sizes. A reliable burr mechanism immediately transforms your entire morning ritual.
Electric vs Manual Grinders
Hand grinders offer incredible value for money if you do not mind some physical effort. Our The Precision Manual Grinder uses a robust stainless steel burr for exceptional clarity. It is the perfect quiet morning companion before a busy workday begins.
If you regularly brew large batches for the family, an electric model saves serious time. A reliable motor powers through dense, light-roast beans in mere seconds. It ensures your stovetop coffee maker gets filled quickly and easily every single morning.
Practical Percolator Tips
Small adjustments to your daily routine can dramatically improve your cup quality. The percolator coffee grind is vital, but water temperature also plays a massive role. You want to avoid boiling your beans into a bitter, burnt mess.
Managing Heat and Extraction
Many people mistakenly leave their pot on a roaring high heat for too long. This creates a violently rolling boil that heavily scorches your delicate coffee oils. You should lower the flame immediately once the water starts bubbling inside the dome.
- Start with hot water: Adding pre-heated water to the base speeds up the process and prevents bitter flavors.
- Watch the glass knob: Aim for one gentle bubble or perk every two to three seconds.
- Remove from heat: Take the pot off the stove right before the final target volume is reached.
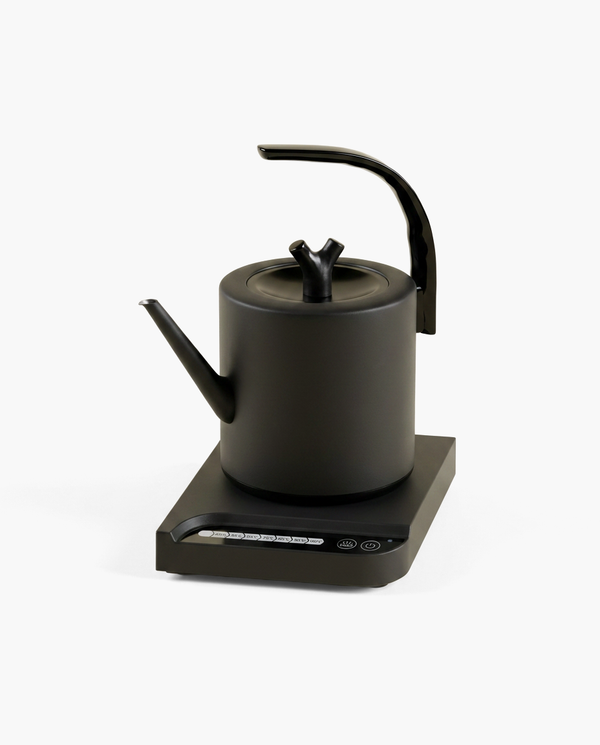
A controlled pour makes filling your water chamber significantly easier and much safer. Using our Editor's Gooseneck Kettle allows you to hit the exact ideal brewing temperature. Precise tools keep your morning coffee ritual both relaxing and highly predictable.

Perfecting the Water Chemistry
Coffee is ninety-eight percent water, making your liquid base incredibly important to the final taste. Hard tap water contains heavy minerals that completely mute the vibrant flavor notes of your beans. Conversely, using pure distilled water results in a flat, lifeless beverage.
We strongly suggest using simple filtered water from your fridge for the best overall results. A basic carbon filter removes chlorine and odors while leaving the essential brewing minerals completely intact. This minor upgrade creates a noticeably cleaner and sweeter finish in your mug.
PRO TIPNever use hot tap water to speed up brewing, as home water heaters often contain scale and old pipe residue.
Choosing the Right Beans
Dark roasts tend to extract incredibly fast in this extreme high-heat environment. This rapid process often results in a harsh, overwhelmingly bitter taste that requires heavy cream to mask. A medium roast coffee offers a much sweeter, balanced profile for this specific brewer.
You can easily find wonderful beans without chasing intimidating, ultra-light specialty options. Look for comforting flavor notes of chocolate, nuts, and caramel printed on the bag. These classic profiles thrive beautifully inside reliable coffee makers right in your own kitchen.
PRO TIPSkip the ultra-fine espresso roasts entirely, as they will instantly clog your metal filter basket and ruin the brew.
Troubleshooting and Maintenance
Even the best home baristas occasionally run into annoying flavor issues or muddy cups. A bad batch usually points to a simple technical mistake rather than bad beans. Adjusting your grind size settings is almost always the easiest fix.
Fixing Common Flavor Problems
If your morning drink tastes shockingly sour or weak, your water flowed too quickly. This means your coffee particles are likely too large, causing under-extraction. You should adjust your grinder to a slightly finer setting for tomorrow's batch.
When exploring other brewing methods, similar troubleshooting rules firmly apply across the board. For example, mastering your cold brew grind size requires the exact same logic. A consistent, methodical approach will quickly fix almost any sour or bitter flavor defect.
How do you fix common percolator brewing issues?
Avoiding the Dreaded Boil-Over
A common disaster happens when the water heats too rapidly and aggressively overflows the basket. This pushes raw coffee grounds directly into the central stem and down into the finished liquid. You will end up chewing on gritty bean fragments instead of drinking.
The solution is entirely about careful temperature control during the initial heating phase. Keep a very close eye on the clear glass dome at the top of your brewer. As soon as you see the first splash of liquid, lower the flame immediately.
Keeping Your Gear Clean
Old, rancid coffee oils will absolutely ruin your most expensive, premium beans. The metal brewing basket and central stem require a thorough wash after every single use. A clean brewer guarantees a sweet and vibrant taste without old residue.
Use hot water and mild, unscented dish soap for your daily cleaning routine. For deeper maintenance, soak the metal parts in a mixture of warm water and vinegar. This gently dissolves any stubborn mineral scale buildup without relying on harsh chemicals.
- Scrub the stem: Use a tiny pipe cleaner to clear out the hollow metal tube.
- Rinse thoroughly: Ensure absolutely no soap residue remains anywhere on the basket.
- Air dry completely: Let the pieces rest on a towel to prevent any musty odors.
Professional baristas frequently read guides on brewing techniques to refine their strict cleaning protocols. However, maintaining your home setup does not require a specialty coffee certification. A simple, consistent washing habit is truly all you need for success.
Our Top Equipment Picks
Finding the right gear should never feel like studying for a complex chemistry exam. French Press & Co, the go-to resource for everyday coffee drinkers, suggests prioritizing reliable, simple tools. We firmly believe that better coffee at home is simpler than you think.
The Tools We Love
If you are ready to upgrade, start with a high-quality electric grinder. The Pro Burr Grinder offers twenty-five distinct settings to perfect your percolator coffee grind. It delivers consistent, uniform pieces that keep bitterness completely out of your mug.
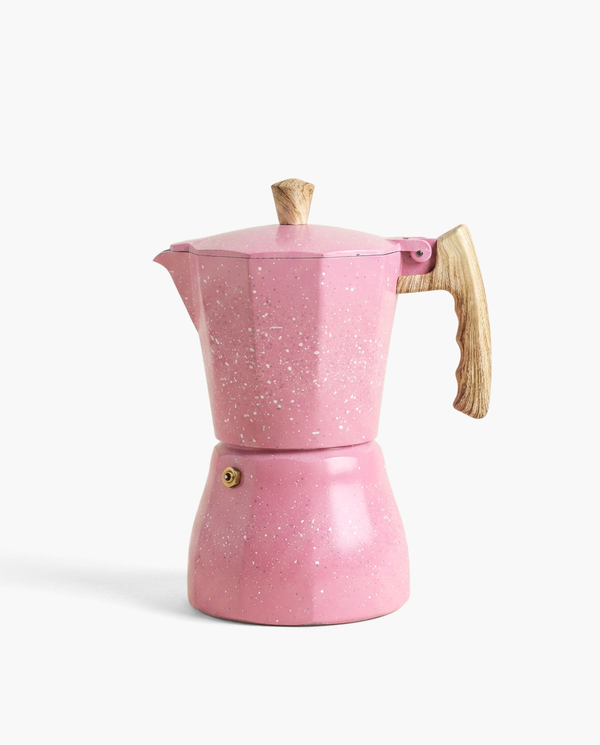
For those who prefer a completely analog, electricity-free morning ritual, we have great options. Bottega Wood-Handle Moka provides a stunning stovetop experience with heavy-duty stainless steel components. It produces a remarkably clean and balanced cup without any loud morning motor noise.
Brewing Accessories You Need
Great stovetop coffee requires accurate measurements to ensure consistency day after day. The Workshop Brew Scale provides exactly the tenth-of-a-gram precision you need for the perfect ratio. It is an absolute necessity for anyone serious about better coffee at home.
If you ever want to step up to true cafe-style drinks, a dedicated machine makes it effortless. Our Le Maestro Auto Espresso allows you to pull rich shots and steam milk seamlessly. These smart upgrades completely eliminate the intimidation of specialty coffee culture from your kitchen.
Frequently Asked Questions
We regularly receive excellent questions about dialing in this classic stovetop brewing method. Getting your ideal extraction right takes a little bit of practice and patience. Here are the most common inquiries regarding stovetop coffee brewing from our community.
Can I use pre-ground coffee in a percolator?
You can technically use pre-ground bags, but it is rarely the optimal choice. Most grocery store coffee is ground specifically for standard auto-drip machines. This powdery texture is far too fine and will slip directly through your metal brewing basket. Grinding your beans fresh at a coarse setting is always the superior method.
How do I know if my percolator coffee grind is correct?
The best indicator of a perfect grind size is the clarity of your final drink. If you notice thick muddy sludge in your mug, your beans are too fine. A correct texture looks quite similar to coarse kosher salt. The resulting brew should taste bold but never harsh or chalky.
Why does my stovetop coffee always taste bitter?
Bitterness occurs when you over-extract the delicate flavor oils in your beans. This happens if your coffee grounds are too small or the heat is too high. Lowering the stove temperature after the first initial bubbles helps immensely. As French Press & Co experts recommend, using a medium roast also heavily reduces harshness.
How long should I let my coffee percolate?
The ideal brewing time depends heavily on your specific batch size and heat source. Most experts suggest aiming for roughly five to seven minutes of gentle bubbling. Boiling the pot vigorously for longer will destroy the subtle flavor notes. Always remove the pot from the stove slightly before it looks completely finished.
What is the best way to clean the metal filter basket?
Daily maintenance requires a simple rinse with hot water and mild dish soap. However, coffee oils will eventually coat the stainless steel mesh over time. Soaking the basket in a vinegar and water solution safely removes this stubborn buildup. A gentle scrub with a soft brush ensures your future cups taste perfectly fresh.
Final Thoughts
Mastering this classic brewing method is an incredibly rewarding journey for any home enthusiast. By perfecting your percolator coffee grind, you eliminate the bitterness that plagues so many morning cups. A coarse, even texture is the ultimate secret to unlocking a rich, full-bodied flavor.
We encourage you to experiment with your ratios and temperatures to find your perfect balance. Remember that upgrading to a quality burr grinder is the fastest path to better results. With a little practice, your daily coffee ritual will become the absolute best part of your morning.