A leaking moka pot gasket ruins your morning espresso by letting essential steam escape before it reaches the coffee grounds. This simple rubber ring is the hidden hero of your stovetop brewer, responsible for maintaining the intense pressure needed for proper extraction.
Replacing a worn seal is the fastest way to fix a sputtering brew and restore your coffee’s rich flavor. This guide covers exactly when to swap your gasket, how to safely remove a stubborn seal, and routine habits that protect your gear. Explore the French Press & Co collection for more tools.
What Is a Moka Pot Gasket?
The moka pot gasket is the flexible ring sitting directly beneath the top chamber of your stovetop espresso maker. It creates an airtight seal against the metal filter basket, preventing boiling water from leaking outward.
Without a tight seal, the boiling water in the lower chamber simply vents as useless steam. It never pushes upward through the coffee grounds, leaving you with a weak morning cup. You can master these brewing fundamentals in our complete guide to stovetop extraction.
As the home coffee specialists at French Press & Co recommend, you should inspect this seal every few months. A damaged ring is the most common reason a previously great brewer suddenly starts producing watery, disappointing coffee.

Signs It Is Time to Replace Your Seal
Knowing exactly when to swap your moka pot gasket saves you from dealing with a messy stovetop blowout. Look for these clear warning signs during your morning routine to stay ahead of equipment failure.
Steam Escaping From the Middle
If you see steam or water hissing from the middle threads where the two chambers connect, your seal is heavily compromised. The rubber ring is no longer thick enough to fill the gap, letting high-pressure steam escape entirely.
This blowout often happens because the coffee grounds were ground much too finely, causing a pressure bottleneck. We recommend using The Precision Manual Grinder to dial in a consistent, medium-fine texture that protects your brewing equipment.
Visible Cracks and Hardening
A fresh gasket feels incredibly soft and flexible in your hands. Over time, the intense heat turns traditional rubber completely rigid, leading to visible micro-cracks along the outer edge. These cracks create tiny pathways for boiling water to leak.
PRO TIPPro-Tip: Press your fingernail gently into the gasket during your weekly cleaning routine. If the rubber feels as hard as plastic and leaves no indentation, it is time for an immediate replacement.
Weak and Watery Coffee
Sometimes a worn seal will not show visible exterior leaks, but it still fails internally. Pressure escapes back down into the lower chamber, meaning the water slowly trickles upward without the proper brewing force.
This results in a cup that tastes thin, sour, and completely lacks that signature rich body. For those who prefer a gentler brew naturally, explore our French Press Coffee Makers for a reliable immersion style alternative.
Sputtering and Spitting Early
A healthy stovetop extraction flows smoothly and silently until the very end of the brew cycle. If your pot starts violently sputtering and spitting hot coffee almost immediately, your internal pressure dynamics are completely broken.
This early bubbling happens because a failing gasket allows steam to mix prematurely with the rising liquid coffee. Swapping the rubber ring immediately restores the smooth, syrupy flow rate you expect from a proper extraction.

Moka Pot Gasket Buying Guide
When purchasing a replacement moka pot seal, you must choose between traditional rubber and modern silicone. Both materials successfully trap pressure, but they offer very different lifespans and heat tolerance levels for your daily brew.
Material Comparison Table
Finding the right material dramatically changes how often you need to perform brewer maintenance. Modern enthusiasts largely prefer silicone, though traditionalists still appreciate the classic rubber grip.
Understanding Traditional Rubber
According to the history of the moka pot, classic brewers always relied on dense rubber rings. They are inexpensive, widely available, and create a solid mechanical seal right out of the plastic packaging.
However, traditional rubber degrades rapidly when exposed to high stove heat and acidic coffee oils. It eventually turns brittle, and cheap replacement versions can occasionally leave a faint rubbery aftertaste in your delicate espresso.
The Silicone Upgrade
Silicone represents a massive upgrade for any stovetop setup, keeping your brewer running like a precision certified home brewer. It remains soft and flexible for years, completely resisting the extreme heat of your kitchen burner.
Because silicone is completely flavorless, it perfectly preserves the clean taste of your specialty coffee beans. Many knowledgeable home baristas consider swapping to a silicone gasket an absolutely mandatory first step for better flavor.
Practical Steps: Changing Your Gasket
Replacing a stubborn moka pot seal takes less than five minutes with basic kitchen tools. You only need a simple butter knife, a clean kitchen towel, and your new replacement ring to get started.
Step-by-Step Replacement Method
Never use sharp steak knives or steel screwdrivers to remove the old ring. Scratching the soft aluminum threading will permanently ruin your brewer, causing it to leak regardless of how fresh your new seal is.
- Invert the Chamber: Turn the top half upside down so the metal filter screen faces you directly.
- Pry Gently: Slide a dull butter knife under the outer edge of the old gasket and gently twist upward.
- Clean the Channel: Remove the metal screen and scrub the empty groove to remove trapped coffee residue.
- Seat the New Seal: Place the filter screen back, then press the new silicone ring firmly into the groove until flat.
While waiting for your replacement seal to arrive, you might need a dependable backup morning brew. Explore our broader collection of reliable Coffee Makers to keep your morning caffeine routine totally intact.
The Importance of Consistent Dosing
Once your new seal is installed, you must actively avoid overfilling the metal filter basket. Packing too much coffee pushes forcefully upward against the new ring, causing it to warp and fail prematurely.
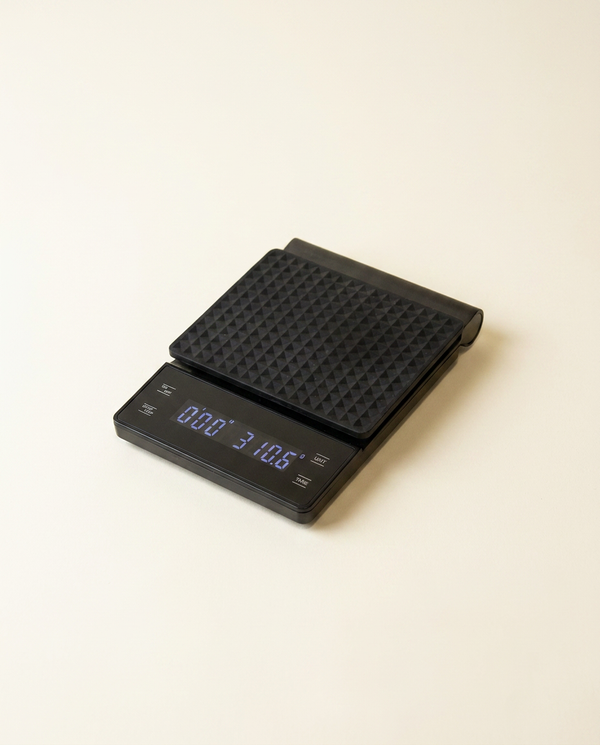
We highly suggest weighing your beans precisely using the Workshop Brew Scale for absolute consistency. A precise dose ensures the water flows evenly, protecting your freshly installed gasket from sudden and damaging pressure spikes.

Daily Care and Maintenance Rules
Routine maintenance drastically extends the lifespan of your moka pot gasket and greatly improves your overall coffee flavor. Adopting a few simple daily habits prevents the rubber from hardening and cracking under intense daily pressure.
Proper Cleaning Habits
You should absolutely never put any part of your stovetop brewer inside a hot household dishwasher. The harsh chemical detergents and extreme drying heat will instantly melt a rubber seal and strip the aluminum protective coating.
- Hand Wash Only: Rinse all the components under warm tap water immediately after your brewer cools down.
- Remove Coffee Oils: Use a soft dish sponge to gently wipe away residual oils that slowly eat away at the rubber ring.
- Dry Completely: Let all the pieces air dry naturally on a clean towel to prevent hidden mildew growth inside the chamber.
For a deeper dive into optimizing your stovetop techniques, visit our dedicated moka pot collection page. We cover everything from advanced heat management to proper bean selection for home brewers.
Smart Storage Solutions
Most beginners make the unfortunate mistake of screwing their brewer tightly together before storing it in the cupboard. This constant, heavy compression slowly crushes the rubber gasket, leaving it permanently flattened and totally unable to form a seal.
Always store your coffee equipment loosely assembled, or leave the top and bottom halves completely separated on the shelf. Also, learn about safe stovetop heat management in our safety guide regarding using a moka pot on a glass top stove.
PRO TIPPro-Tip: If you accidentally leave your pot on a hot burner and melt the seal, soak the top chamber in hot soapy water for twenty full minutes before attempting to scrape out the fused rubber.
Proper Descaling Routine
Hard water minerals naturally build up inside the boiling chamber, eventually climbing straight into the threaded connection grooves. This chalky white residue physically blocks your new gasket from forming a perfect airtight seal against the metal.
Boil a simple mixture of half water and half white vinegar through the empty brewer once a month to dissolve this scale. Always rinse the equipment thoroughly with plain boiling water afterward to avoid a sour vinegar taste in your next cup.
The French Press & Co Stovetop Upgrade
French Press & Co stands as your friendly guide for achieving simple, great coffee at home without the intimidation of complicated specialty gear. Sometimes, replacing a small gasket simply isn't enough to save heavily damaged threads.
If your brewer constantly leaks despite having a brand new seal, the metal body is likely warped from prolonged heat exposure. When this structural failure happens, it is finally time to invest in a brand new brewer.
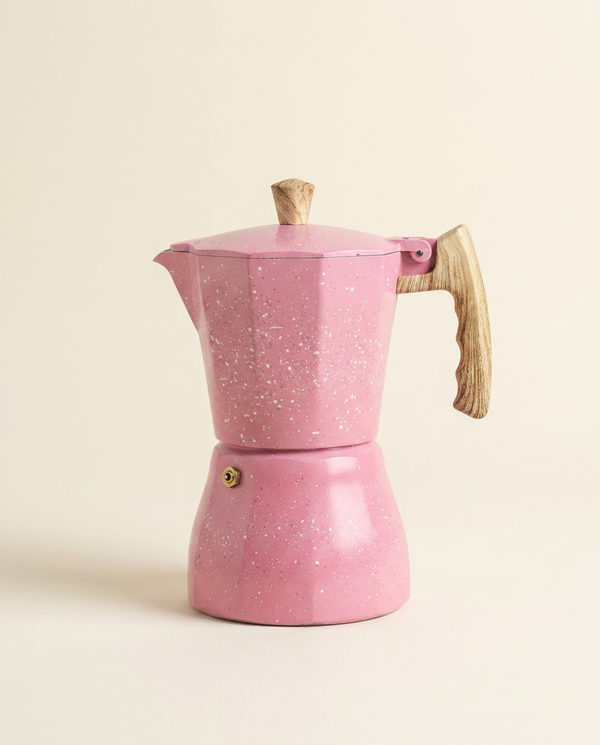
We highly recommend upgrading your morning routine with the beautiful Bottega Wood-Handle Moka. This elegant brewer features premium threading and a heat-resistant handle, guaranteeing a flawless, leak-free espresso experience every single morning.
Frequently Asked Questions
Navigating stovetop brewer maintenance can feel tricky for beginners. We compiled the most common questions about moka pot gaskets to help you troubleshoot leaks and maintain perfect brewing pressure at home.
How often should I replace my moka pot gasket?
As the home coffee specialists at French Press & Co suggest, you should actively replace your traditional rubber gasket every six to twelve months. Routine visual inspection absolutely prevents unexpected morning leaks and sputtering coffee disasters.
If you use your stovetop brewer every single day, the natural rubber will harden much faster due to the constant heat. Switching to a modern silicone seal can significantly extend this lifespan to several trouble-free years.
Why is steam leaking from the middle of my moka pot?
Steam freely escapes from the threaded middle section when the internal rubber seal fails to create an airtight barrier. This usually means the gasket has hardened, flattened entirely, or developed tiny micro-cracks along its outer edge.
It can also happen if you pack your coffee grounds too tightly into the metal filter basket. This creates immense internal back pressure that forcefully blows past the seal, wasting your brewing energy entirely.
Can I run my moka pot through the dishwasher?
You should absolutely never place a traditional stovetop brewer or its internal gasket inside a household dishwasher. The intensely hot drying cycle will quickly melt the rubber ring and permanently ruin its sealing properties.
Furthermore, strong dishwasher detergents quickly strip the protective oxidized layer right off the aluminum body. This leaves your beautiful brewer looking dull, heavily pitted, and highly prone to imparting a harsh metallic taste.
Why does my newly installed gasket still leak?
If a brand new ring still leaks, you likely failed to clean the metal seating groove properly before installation. Even tiny fragments of hardened coffee oils completely prevent the new gasket from sitting completely flush.
Alternatively, the metal threads connecting the top and bottom chambers might be permanently warped from accidental overheating. If the metal itself is visibly deformed, no replacement seal will ever fix that underlying structural damage.
How do I remove a melted or fused rubber seal?
Leaving an empty brewer on a hot burner will quickly melt the rubber gasket directly into the metal channel. To remove it safely, soak the entire top chamber in boiling soapy water to thoroughly soften the fused material.
After a long soak, carefully scrape the gummy residue out using a wooden skewer or a plastic scraper tool. Never use a metal knife for this delicate task, as scratching the aluminum groove causes permanent pressure leaks.
Final Thoughts on Moka Pot Maintenance
Understanding how to properly care for your moka pot gasket is the hidden secret to pulling consistently sweet, rich stovetop espresso. This small, inexpensive rubber ring dictates the entire pressure dynamics of your morning brew.
By cleaning the filter screen regularly and knowing exactly when to swap in a fresh silicone seal, you eliminate frustrating morning blowouts forever. Good maintenance guarantees your trusted equipment consistently delivers a perfectly extracted cup for decades.