The best handheld milk frother spins fast enough to fold air into milk before the liquid cools down. You want a motor that holds a high speed under the resistance of whole milk, and a whisk that detaches so you can wash it without ruining the battery. We keep the Bench Hand Frother by the coffee machine because its double mesh whisk builds thick foam in twenty seconds.

The Science of Mechanical Frothing
How a spinning coil builds texture
A steam wand on an espresso machine forces hot water vapor into milk. A portable milk frother relies entirely on mechanical agitation. The motor spins a coiled wire at high speed, and the wire drags the milk into a vortex. As the liquid spins, it pulls air down from the surface and traps it in microscopic bubbles. The faster the spin, the smaller the bubbles. Small bubbles create a texture that feels heavy and sweet on the tongue.
The challenge for any battery-operated whisk is torque. Milk has mass. When you submerge a whisk into three ounces of cold dairy, the liquid resists the spin. A weak motor bogs down, the whirlpool collapses, and you get a few large soap-like bubbles on top of warm milk. A strong motor maintains its speed, forces the liquid to keep moving, and turns the entire volume into a uniform foam.
Why the whisk shape matters
Most frother wands use a single spring coil. A single coil works, but it takes time to move enough liquid to build a stable foam. A double spring whisk stacks two coils on top of each other. Two coils move more milk per rotation than a single coil. The foam builds faster and thicker, and because the work happens quickly, the whisk stays submerged longer, which reduces splatter on the counter.
The role of temperature in milk chemistry
Milk proteins relax when they are warm. Cold milk froths, but the bubbles are often rigid and prone to separating from the liquid below. Heating the milk first on the stovetop or in the microwave changes how the proteins behave. Warm milk froths faster and produces smaller, denser bubbles than cold milk.
The ideal temperature is around 120 to 140 degrees Fahrenheit. If you heat the milk until it boils, the proteins denature, and the milk will refuse to hold any air at all.
The Gear That Makes This Easy
A good frother wand sits in a drawer or on the counter, asks for very little maintenance, and does one job well. We look for high motor speed, a whisk that detaches for washing, and a button that does not require constant pressure.
Our top pick: Bench Hand Frother
We keep the Bench Hand Frother ready for morning cappuccinos. It is an ultra-light, battery-powered wand made from BPA-free ABS plastic. It requires two AA batteries to drive a motor that spins fast enough to texturize whole milk in seconds.
- 13,000 rpm motor: A high-speed spin that maintains its torque even when submerged in heavy oat milk or cream.
- Double spring stainless steel whisk: Two coils move more milk per rotation, which builds thicker foam in 15 to 20 seconds.
- One-button operation: Press once to start, press again to stop. The motor runs continuously, so you can focus on moving the whisk instead of gripping a switch.
- Detachable head: The whisk pulls off so you can rinse it under warm water. The battery compartment does not go near the sink.
- Counter-ready storage: It includes a platform stand to keep it upright, plus a protective lid to keep dust off the whisk if you store it in a drawer.
The USB-C option: The Barista Milk Frother
If you prefer to skip disposable batteries, The Barista Milk Frother is a cordless wand that charges over USB-C. It features a three-speed motor and comes with both a single-coil and a double-coil head. The 304 food-grade stainless steel whisk detaches for easy cleaning, and the matte-finish plastic housing weighs just 2.5 ounces. You step up through the three speeds for denser foam, watching the texture change before you feel it thicken.
The charging dock model: Editor's Wireless Frother
For a permanent place next to the espresso machine, the Editor's Wireless Frother sits in a self-standing charging base. It is a rechargeable electric frother with a three-speed dial and two interchangeable heads: a spring coil for milk and a balloon whisk for batter. You pick it up, texture your milk on the fast speed, wipe the whisk, and set it back in the dock where it tops up its battery automatically.
The Aerolatte Original
The Aerolatte is one of the oldest names in this category. It typically costs around $20 and runs on two AA batteries. It has a single coil whisk fixed to the motor housing. It is designed for basic daily use, but the Bench Hand Frother fits our routine better because its double coil builds foam faster, and its one-touch button means you do not have to squeeze a switch the entire time you are frothing.
The Zulay Original Milk Frother
Another common choice, usually priced around $20. It comes with a metal stand and a single spring whisk. It spins fast and handles small volumes of milk. We prefer the Bench Hand Frother because the whisk head detaches entirely. Pulling the coil off to wash it separately ensures that water does not run down the shaft and into the battery compartment.
How to Texture Milk Like a Barista
Owning a fast motor is only half the job. Technique dictates whether you pour a smooth, glossy microfoam or a stiff meringue that sits stubbornly on top of your coffee. The process takes less than thirty seconds, but the angles matter.
Step 1: Choose the right vessel
Pour about three to four ounces of milk into a narrow pitcher or a tall mug. Shallow, wide containers make it harder to build foam because the whisk spins near the surface and creates splatter instead of microfoam. The liquid needs vertical walls to climb as the vortex forms.
Step 2: Heat the milk
Warm the milk separately before you froth. A minute in the microwave or a quick turn on the stove is enough. You want it hot to the touch but not boiling. Hot milk froths faster and yields a glossy texture that blends beautifully with coffee from a moka pot or an espresso machine.
Step 3: The initial aeration
Submerge the whisk head before you press the button. If you start the motor in the air, milk will paint your kitchen cabinets. Hold the wand at a slight angle and keep the coil just below the surface. You will hear a tearing sound as the coil pulls air down into the liquid. Let it aerate for three to five seconds until the milk expands visibly.
Step 4: The roll
Once you have enough volume, lower the wand deeper into the pitcher. Tilt the pitcher slightly to create a rolling whirlpool. This step breaks the large surface bubbles into microscopic bubbles, polishing the foam. Hold it there for another ten to fifteen seconds. Press the button to stop the motor, wait for the coil to go still, and then pull the frother out.
Matching the Foam to the Coffee
Different brewers produce different strengths of coffee, and your foam should match the intensity of the cup.
- Moka pot coffee: Highly concentrated and heavy-bodied. It cuts through thick, dense foam easily. Build a generous layer of froth to balance the dark roast notes.
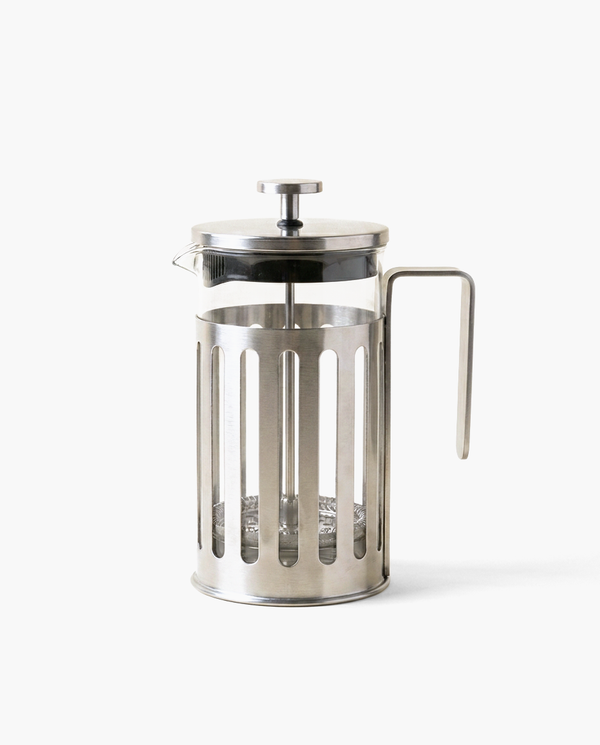
- French press coffee: Rich and oily. A French press brew pairs best with lightly textured milk. Aerate for just a few seconds, then focus on the whirlpool to create a thin, glossy microfoam that mixes into the cup rather than floating on top.
- Matcha and hot chocolate: You do not need coffee to use a frother. A fast wand aerates matcha into a smooth foam, breaking up the clumps of green tea powder instantly.
To learn more about how different dairy and plant options react to heat and agitation, read our guide on the best milk for a latte.
Troubleshooting Your Foam
| The Problem | The Cause | The Fix |
|---|---|---|
| Large, soapy bubbles | The whisk is spinning too close to the surface. | Lower the wand deeper into the pitcher and tilt to create a whirlpool. |
| Milk refuses to foam | The milk is too hot, or the batteries are dying. | Keep milk below 150 degrees. Replace the AA batteries if the motor sounds sluggish. |
| Splatter everywhere | The container is too wide and shallow. | Switch to a narrow pitcher or a tall mug. |
| Foam collapses instantly | Using skim milk or a thin almond milk. | Switch to whole dairy or a barista-blend oat milk for better fat content. |

Mistakes That Ruin the Texture
A portable wand is a simple tool, but a few bad habits will leave you with flat milk or a broken motor.
- Washing the whole wand: The battery compartment is not waterproof. If you run the entire body under the tap, water travels down the shaft and rusts the motor. Detach the whisk head if your model allows it, or wipe the body carefully with a damp cloth.
- Frothing in a shallow bowl: A wide mug gives the milk nowhere to go but sideways. You will paint the counter with milk before you build any foam. Use a narrow, deep vessel.
- Holding the wand dead center: If you place the whisk in the exact middle of the pitcher, you create a chaotic splash. Keep it slightly off-center and tilt the pitcher to establish a smooth, rolling vortex.
- Letting the milk dry on the coils: Milk proteins harden like cement. If you leave the frother on the counter without rinsing it immediately, the dried milk will smell sour in tomorrow's coffee and throw off the balance of the whisk.
A Thursday at three, the house finally empty, and a quick latte at the kitchen island
The rain hits the glass sideways, and the afternoon requires something warm before you open the laptop again. You pour an ounce of espresso into a tall glass, heat a splash of oat milk, and drop the frother in. You press the button once. The coil spins up instantly, biting into the liquid.
The milk climbs the glass, building thick foam in fifteen seconds, transforming from a thin liquid into a heavy, glossy cream. You stop the motor, lift it out, and pour the foam over the dark coffee. It sits on top, thick enough to hold its shape.
You pull the whisk head off, rinse it under the tap for three seconds, and take the glass to the table.
If you take one thing from this article: rich microfoam depends on speed and torque, and a double-coil wand that holds its spin in heavy milk is the fastest way to build cafe texture at home.

Frequently Asked Questions
What kind of milk works best?
Whole milk froths thickest because of the fat content. Oat milk and soy milk also foam beautifully and hold a tight microfoam. Skim milk and almond milk produce thinner, larger bubbles, but they will still take on plenty of texture if aerated properly.
Do I need to hold the button down?
Not with the Bench Hand Frother. You press the button once to start and press it again to stop. The motor runs continuously until you turn it off. This lets you focus entirely on moving the whisk through the milk to build the vortex, rather than gripping a switch the whole time.
Can I froth hot milk?
Yes, and it usually yields better results. Heat the milk separately on the stovetop or in the microwave first, then froth it. Hot milk froths faster and produces smaller, denser bubbles than cold milk. Just ensure it does not boil.
Why use a double spring whisk?
Two coils move more milk per rotation than a single coil. This means the foam builds faster and thicker. It also reduces splatter on your counter because the whisk stays submerged in the liquid rather than riding on top of it.
How much milk should I froth at once?
Aim for about three to four ounces in a narrow pitcher or a deep mug. If you use a shallow, wide container, the whisk will spin near the surface and throw milk everywhere instead of drawing it down into a smooth whirlpool.