You are tired. You want a strong, rich coffee, but you don't want the hassle of a giant machine or the waste of brewing a full pot. You stand in your kitchen, staring at your complex equipment, just wanting one perfect shot to start your day. We get it. The struggle of the solo coffee drinker is real, stale leftovers, wasted beans, and weak single-cup attempts.
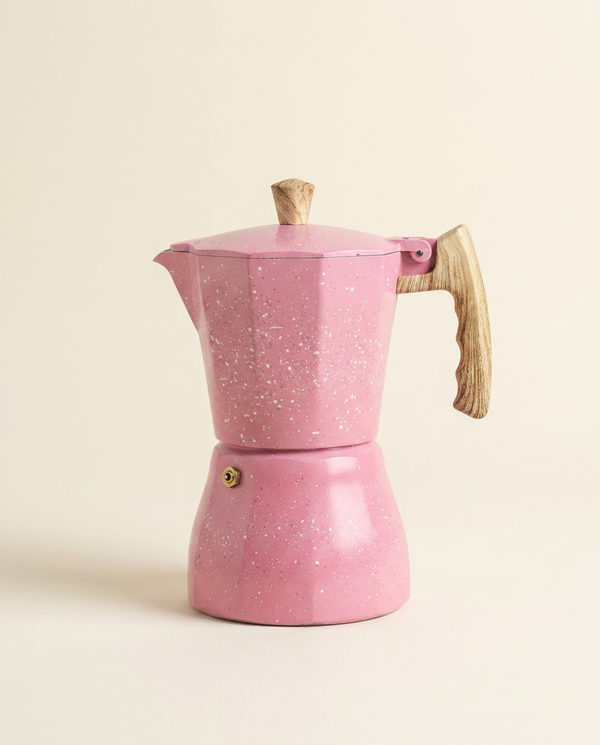
But there is a solution that has stood the test of time, yet is often overlooked: the 1 cup moka.
This isn't just about caffeine; it's about reclaiming your morning ritual. It is about precision, minimizing waste, and extracting a syrup-like elixir that rivals your local café. In this guide, we are going deep into the world of the Precision Manual Grinder and the stovetop espresso maker. We will show you why the "one cup" size is actually the secret weapon for true espresso lovers, and how to master it without burning your brew.

History and Context: The Rise of the One Cup Moka Pot
To understand why the one cup moka pot is such a marvel of engineering, we have to look back at 1933. Italy was in the midst of an industrial boom, and aluminum was the metal of the future. Alfonso Bialetti, observing his wife using a laundry boiler (lisciveuse), noticed how soapy water was pumped up through a central tube. This simple physical principle, steam pressure, became the foundation of the Moka Express.
While the larger pots became family staples for Sunday breakfasts, the 1 cup moka carved out a specific, crucial niche: the "pausa caffè" (coffee break). In Italian culture, coffee isn't always a communal hour-long event; often, it is a quick, intense 1.5oz (45ml) shot consumed standing at a bar or alone before rushing out the door. The single-serve pot was designed for this exact moment, personal, intense, and immediate.
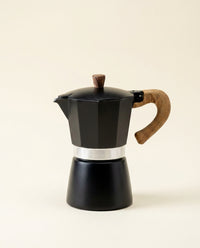
Unlike the larger 6-cup or 9-cup versions, the moka pot (see explore moka pot models) 1 cup size offers a unique thermal advantage. Its small chamber heats rapidly, reducing the time the ground coffee sits in contact with the hot metal before brewing begins. This historical quirk makes it surprisingly difficult to master but incredibly rewarding. It is the purist's choice. While the world moved toward massive drip machines and eventually pod systems, the humble 1 cup pot remained the eco-friendly, buy-it-for-life alternative that refuses to die.
The Science of Extraction: Why Your Moka Pot 1 Cup Struggles
Let's get technical. Why does your moka pot 1 cup sometimes taste like burnt rubber or sour lemon juice? The science comes down to "channeling" and "thermal mass."
The Thermal Trap
In a tiny 1 cup moka, the water reservoir is small, usually holding only about 2oz (60ml) of water. Because the metal body is so small, it heats up incredibly fast on a stovetop (hob). If you are not careful, the water boils too violently, shooting steam through the puck rather than hot water. Steam is too hot (over 212°F/100°C) and burns the coffee oils instantly. You want water at roughly 200°F (93°C) to push through.
The Grinding Equation
This is where most people fail. They buy pre-ground coffee meant for a drip machine or a large 6-cup pot. In a one cup moka pot, the coffee basket is tiny. If your grind is too coarse, the water rushes through in 10 seconds, sour, watery, undrinkable. If it's too fine (like commercial espresso), it chokes the pot, building dangerous pressure and "cooking" the grounds before they extract.
You need a consistent, medium-fine grind. Electric blade grinders chop beans unevenly, creating "boulders" (coarse) and "fines" (dust). The dust blocks the holes of the 1 cup filter plate, while the water channels around the boulders. The result is an uneven, bitter mess.
This is why a precision tool like our Precision Manual Grinder is non-negotiable for the 1-cup size. You need to dial in that specific setting where the coffee feels like table salt, gritty but fine.

The Smart Solution: French Press & Co Ecosystem
You have the science, now you need the gear. The 1 cup moka is unforgiving of bad equipment. A cheap, thin aluminum pot will heat unevenly. Cheap grinders will ruin your extraction.
The solution is a holistic approach to your single-serve routine. It starts with the grind. Our Precision Manual Grinder features stainless steel conical burrs that cut the bean rather than smashing it. This ensures that when the small amount of water in your 1-cup pot rises, it meets equal resistance across the entire bed of coffee.
Furthermore, once you have brewed that concentrated shot, you might want to soften it. Our Milk Frother allows you to texturize milk into microfoam in seconds, turning your strong moka shot into a perfect Macchiato or Cortado right on your counter (worktop).
Detailed Comparison: 1 Cup Moka vs The Alternatives
Is the one cup moka pot really better than a pod machine or a tiny french press? Let's look at the data.
| Feature | Pod Machine (The "Easy" Way) | Tiny French Press (The "Soak" Way) | French Press & Co 1 Cup Moka Approach |
|---|---|---|---|
| Taste Profile | Thin, artificial crema, stale coffee | Tea-like body, muddy sediment | Rich, syrupy, intense, high body |
| Waste | Plastic/Aluminium pods (High waste) | Compostable grounds (Zero waste) | Compostable grounds (Zero waste) |
| Heat Control | Automated (Often too cool) | Losing heat during brew | User-controlled (Requires skill) |
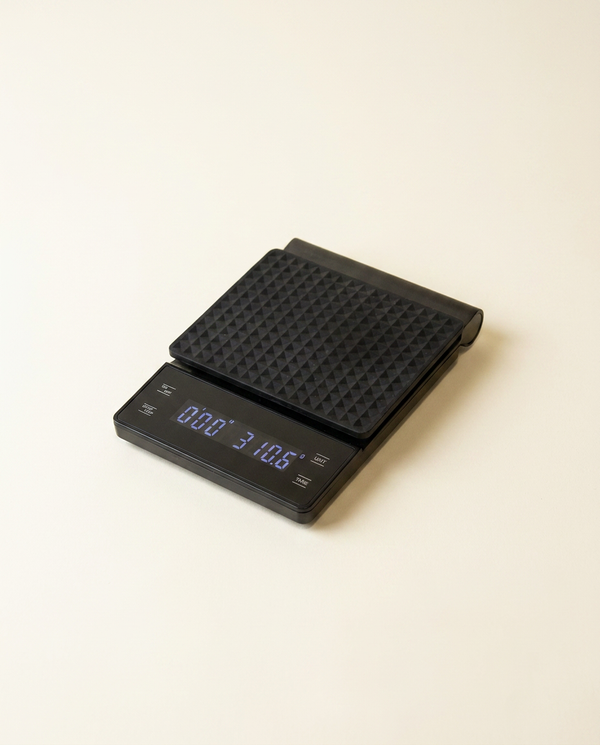
| Maintenance | Workshop Brew Scale cycles, internal mold risk | Easy rinse | Simple rinse, replace gasket yearly |
| Longevity | 3-5 years (Pump failure) | Glass can break | Lifetime (Simple metal construction) |
Step-by-Step Guide: How to Brew the Perfect 1 Cup Moka
Mastering the 1 cup moka requires attention to detail. Follow this method for a barista-quality result.
1. The Prep
Boil water in a kettle first. Never start with cold water in the bottom chamber. Cold water forces the pot to sit on the stove (hob) for too long, cooking the coffee grounds before brewing even starts.
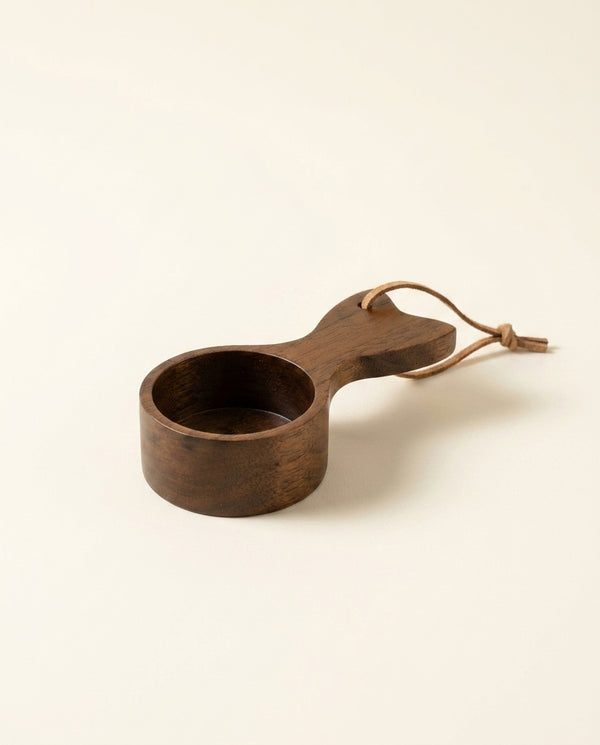
* Measure: You will need about 7-8g of coffee beans.
* Grind: Use your Precision Manual Grinder on a medium-fine setting.
2. The Fill
Fill the bottom chamber with your boiling water up to just below the safety valve.
Critical:* Do not cover the valve.
3. The Basket
Place the funnel basket into the bottom chamber. Fill it with your ground coffee.
* Do NOT tamp: Just tap the side to settle it. Pile it slightly like a small hill, then screw the top on tight.
4. The Brew
Place the pot on low-medium heat. Leave the lid open so you can watch.
* Watch for the flow: Within 60-90 seconds, you should see a slow, dark stream like warm honey.
5. The Stop
As soon as the stream turns pale yellow or you hear a violent gurgling/sputtering sound, remove it from the heat immediately.
* Cool Down: Run the bottom base under cold tap water to stop extraction instantly. This prevents the "burnt metal" taste.
☕ Pro Tip: Stir the coffee in the upper chamber with a small spoon before pouring. The dense, rich coffee sinks to the bottom, and the lighter coffee stays on top. Stirring mixes the layers for a balanced moka pot 1 cup experience.
Technical Data Sheet
| Variable | Specification |
|---|---|
| Coffee Dose | 7g, 9g (approx. 1.5 tbsp) |
| Water Volume | 1.7oz, 2oz (50ml, 60ml) |
| Water Temp | Start with boiling (212°F/100°C) |
| Brew Time | 2-3 minutes total |
| Grind Size | Medium-Fine (Table Salt) |
⚠️ Warning: Never use the handle to screw the pot open or closed. The handle is the weakest point. Grip the body of the pot. Also, do not wash your one cup moka pot with dish soap (washing up liquid) in the dishwasher, it will corrode the aluminum.
Maintenance and Care: Keeping Your Moka Perfect
Your moka pot 1 cup is a workhorse, but it needs love. The biggest myth is "never wash it." This is false. Rancid coffee oils taste terrible.
After every use, disassemble the pot once it is cool. Rinse all parts with hot water and use your fingers to rub away oily residue. Dry each part separately with a cloth before reassembling to prevent oxidation (white spots) in the bottom chamber.
Every 3-6 months, check the rubber gasket and the filter screen. If the rubber is hard or cracked, the seal will fail, and steam will escape from the sides rather than pushing through the coffee. You can find replacement gaskets easily.
💡 Quick Fact: The "crema" (foam) on a moka pot shot is technically false crema because there isn't enough pressure (1-2 bars vs 9 bars for espresso), but you can fake it by whipping the first few drops of coffee with sugar!

Conclusion
The 1 cup moka is more than a coffee maker; it is a declaration of independence. It says you value quality over quantity. It says you are willing to take 5 minutes for yourself in a busy world. While it demands a bit more skill than pushing a button, the reward, a dense, aromatic, heavy-bodied shot, is incomparable.
Whether you pair it with our Stainless French Press for larger gatherings or keep it as your secret solo ritual, the moka pot 1 cup is an essential tool for any serious coffee lover. Don't settle for weak, lukewarm single-serve pods. Grind fresh, brew slow, and savor the process.
Frequently Asked Questions
1. Why is my 1 cup moka pot sputtering?
Sputtering usually means the heat is too high. The water is boiling too violently. Turn the burner down to low. It can also mean you didn't tighten the two chambers enough, causing a loss of pressure.
2. Can I make a latte with a one cup moka pot?
Absolutely. The 1.5oz shot it produces is strong enough to cut through milk. Brew your shot, then use our Milk Frother to heat and texturize about 4oz (120ml) of milk. Pour the milk over the coffee for a perfect home latte.
3. Is a 1 cup moka pot actually one cup?
It refers to one espresso cup (demitasse), which is about 1.5 to 2 ounces (45-60ml). It will not fill a standard American mug. If you need a full mug, add hot water to the shot (Americano style).
4. What is the best coffee for a moka pot 1 cup?
Medium-dark roasts work best. Light roasts can be too acidic (sour) because the moka pot doesn't reach high enough pressure to extract them fully. Dark roasts amplify the chocolate/nutty notes classic to moka brewing.
5. How do I fix a metallic taste in my coffee?
This often happens with new aluminium pots. You need to "season" it. Brew 2-3 throwaway batches of coffee to coat the inside with coffee oils. Also, ensure you aren't scrubbing the pot with abrasive steel wool.
| Specification | Summary |
|---|---|
| Ideal Roast | Medium-Dark |
| Grind Type | Burr Grinder (Medium-Fine) |
| Water Start | Boiling water in base |
| Cleaning | Hot water only, hand dry |